How to make your game (in)accessible in four simple steps
After reading the headline, you might be asking yourself why would we want to make a game inaccessible?
First, we shouldn’t be too concerned about people with disabilities – it’s like 15% of the world’s population, so it’s merely 1 billion people. Most of them are older and do not play games anyway, so we shouldn’t be overly focused on them. Even if you want to think about people with sight-related problems, it’s still only 2 billion people – tops. What’s more, most of the players are young – their average age is 33. So, if you’re committed to making your game inaccessible, there are 4 quick and simple solutions to accomplishing that.
Step 1: Do not plan for accessibility
If you plan it – you will have tickets, tasks, requirements, and someone will someday see that something is not done. If we won’t plan – we can skip all of that, and even if someone on the later stage of the development of the game will think “maybe we should add some accessibility features” – then it’s too late, we already have all the assets.
Step 2: Do not give players a choice
You are a developer. You know how your game should look, feel, and sound. Players don’t know that. If you want some fancy fonts in your game that you handcrafted for a month, you don’t want a player to be able to change it to something else. If you have the perfect color palette and your game is focused primarily on colors, you don’t want players to be able to change that. Also, if you have a brilliant UI, vivid colors etc. – just do not give them other options.
Step 3: Do not playtest your game
By playtesting your game, you will find bugs and problems and we don’t like that. So, an easy solution would be… not looking for them in the first place 😉
Step 4: Do not ask, do not listen
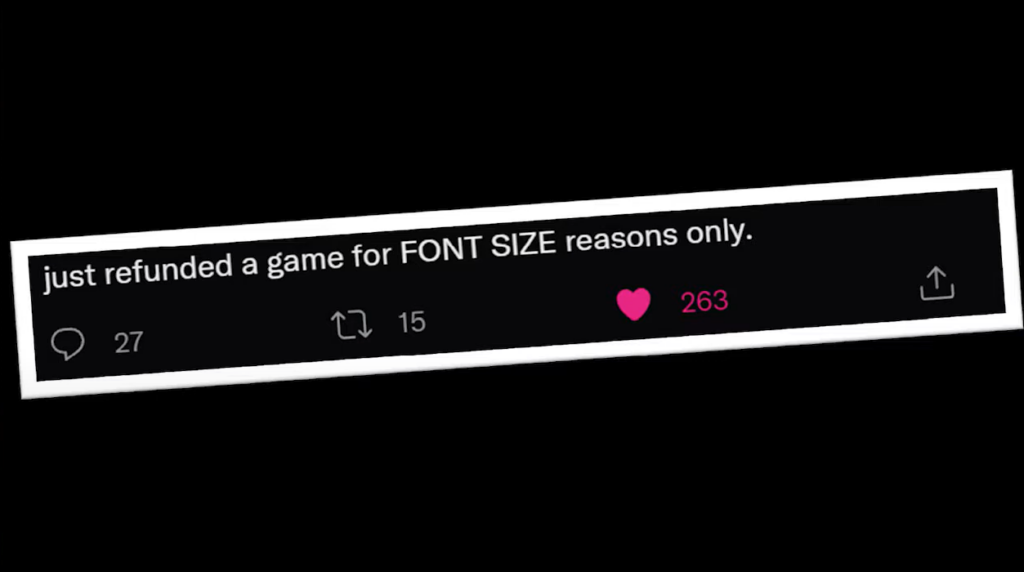
If you have already shipped your game or are really close to doing it, do not ask for feedback and do not listen to any feedback. Players don’t know what they want, and they will complain about almost everything. Here are some examples:

And what if I told you that we can make better games with the same, 4 easy steps?
Step 1: Plan for accessibility
To have a good plan is building knowledge among your team, that the game needs to be accessible. It’s not something that can be added on at the end of the project; this is a fundamental part of the game, like visuals, audio, or gameplay. If you plan it from the beginning, people will make good choices. When the concept artists draw something, they know that they need to think about colors being visible properly and about contrast. Basically, be sure that your team knows that this is a fundamental part of the game. Accessibility needs to be the foundation of the game, as it’s way easier if you work on it from the beginning.
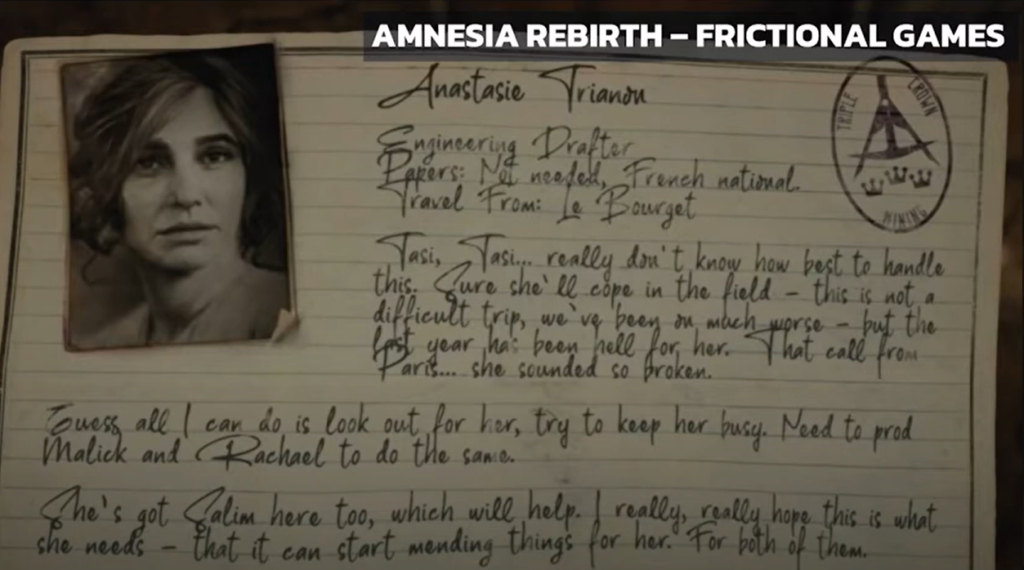
- Easy to read fonts (Amnesia Rebirth – Frictional Games)

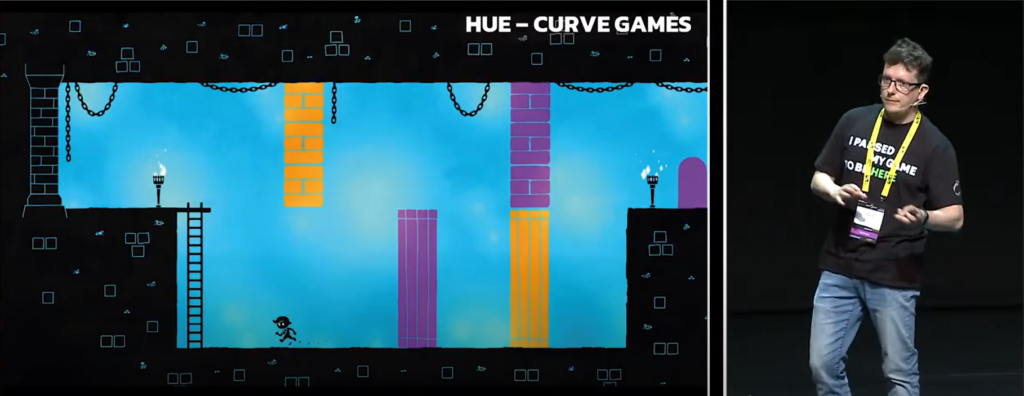
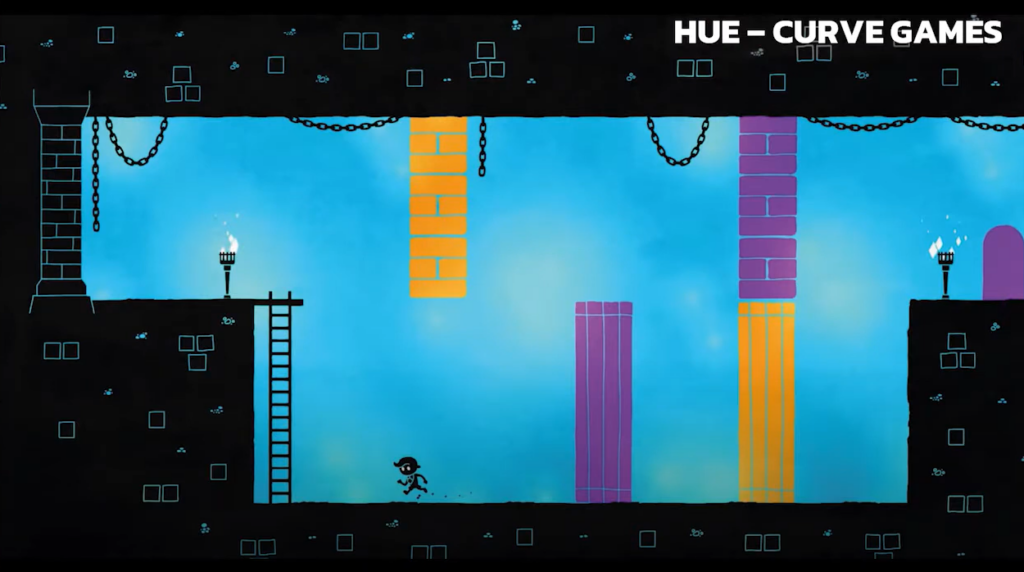
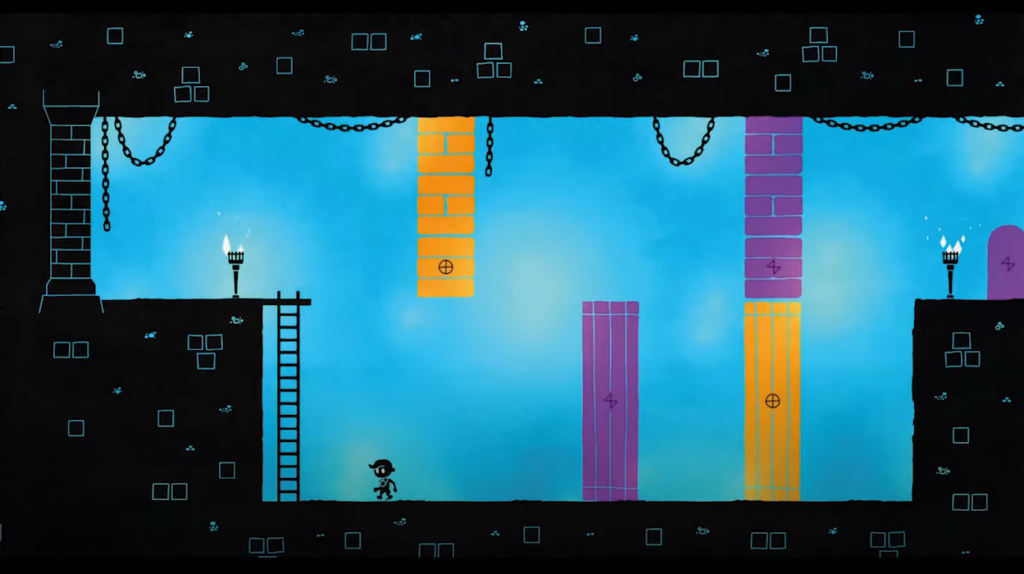
- Symbols in addition to colors (Hue – Curve Games)
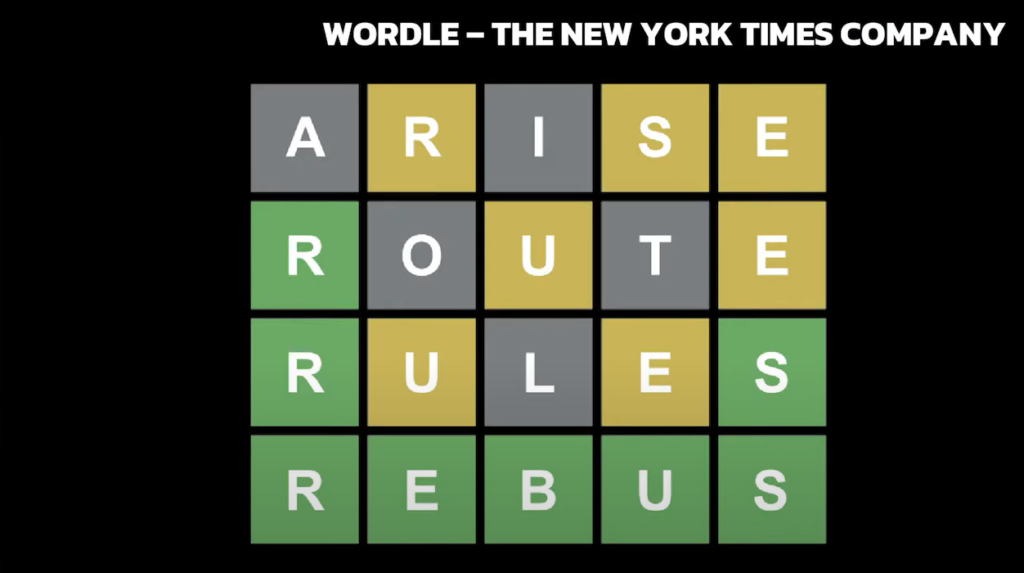
- Color-blind mode (Wordle – The New York Times Company)

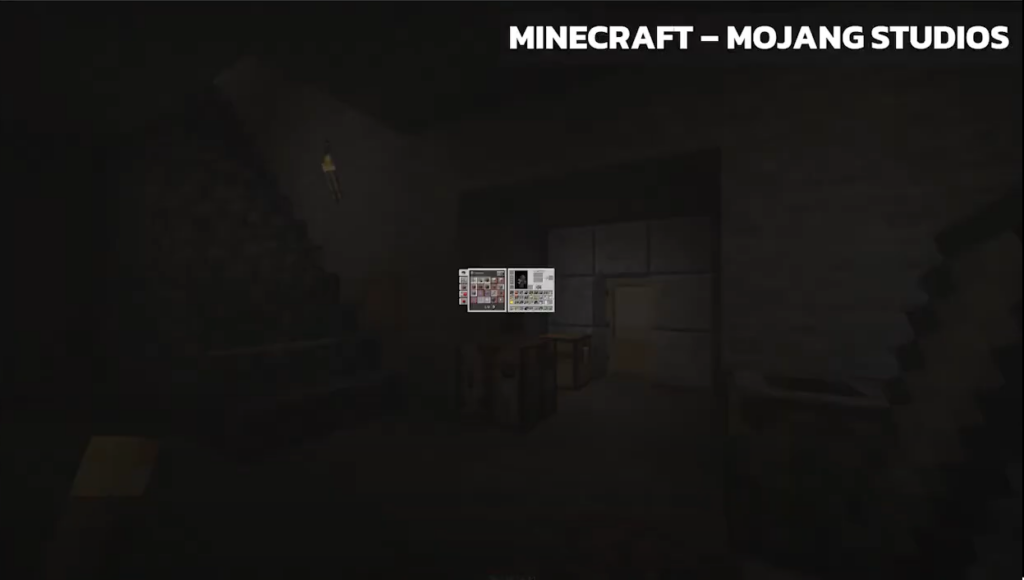
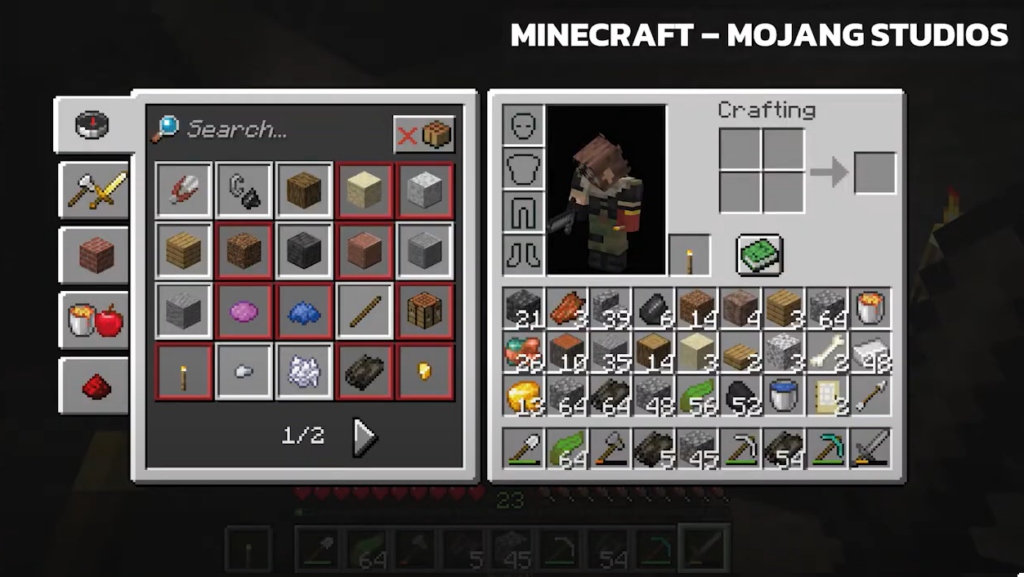
- Auto scale of UI (Minecraft – Mojang Studios)
- Turn off the background (Street Fighter V – Capcom)


Step 2: Give players a choice
For example, you can:
- Have all the necessary accessibility features in one place, so the user will know, where to find it. What’s more, the user should be able to preview what each setting does.
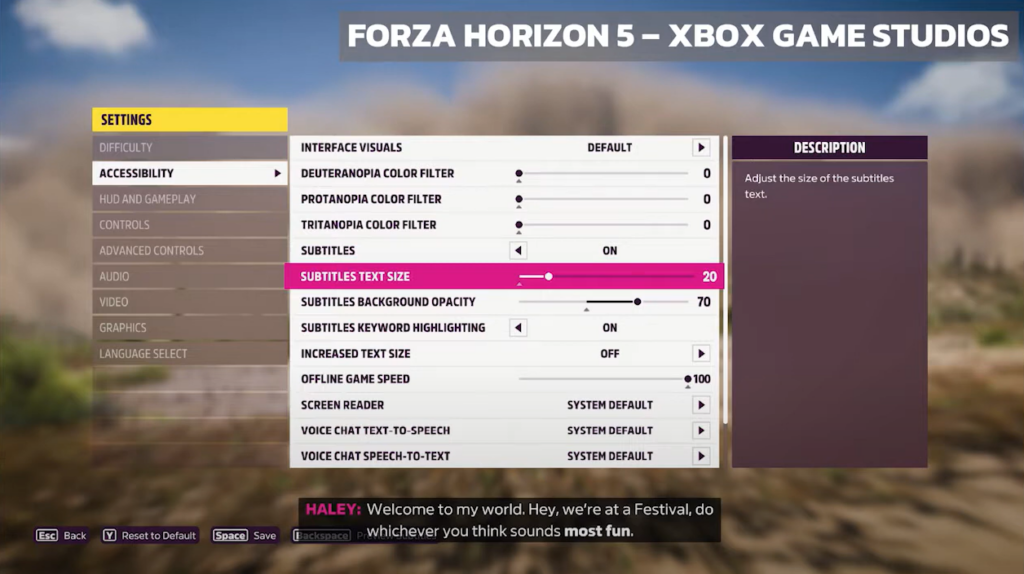
- If you have subtitles in the game, the user should be able to change the font size.
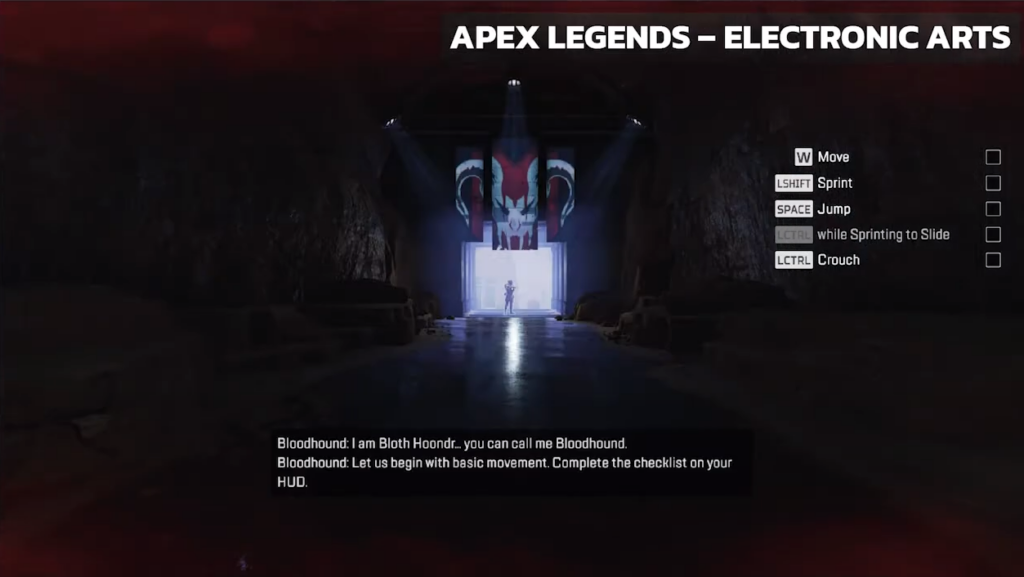
- Possibility to change the default font to the free font called OpenDyslexic, i.e., a font designed to be easy to read for people with dyslexia, or Comic Sans – one of the best fonts for dyslexic people.
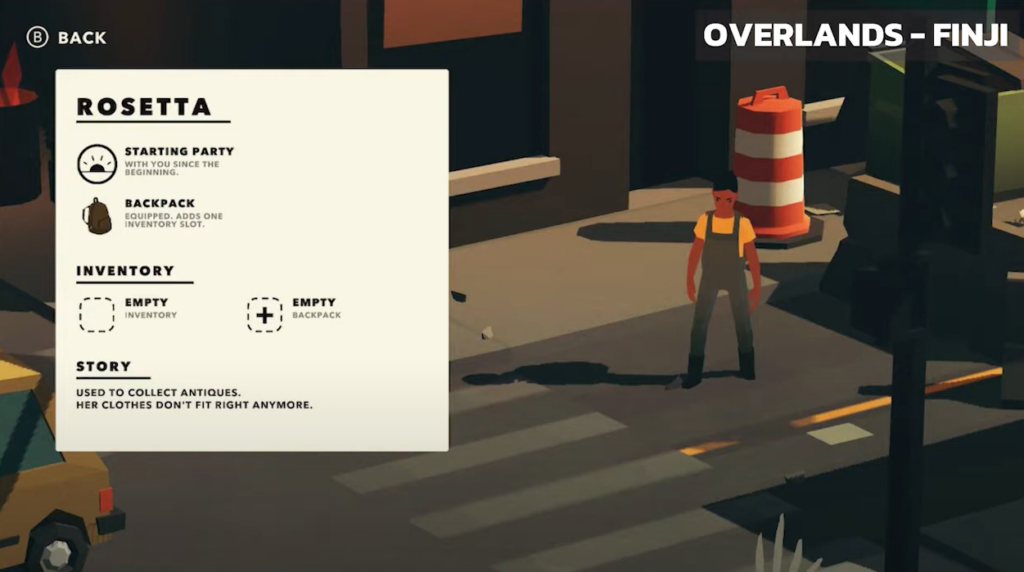
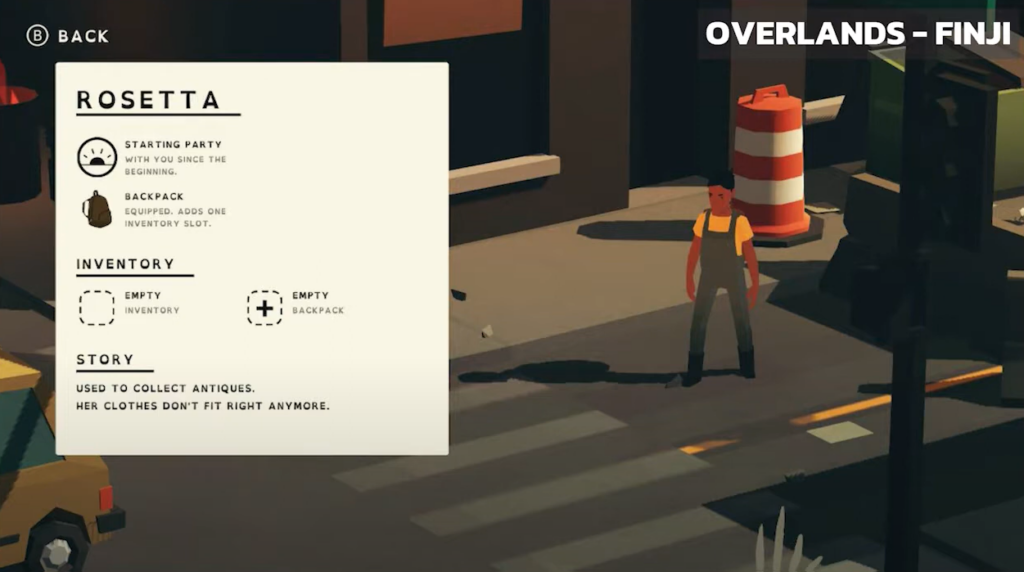
- Audio descriptions allows someone that cannot hear, to not only see what people are saying, but also to read about the explosions, gun shots etc.
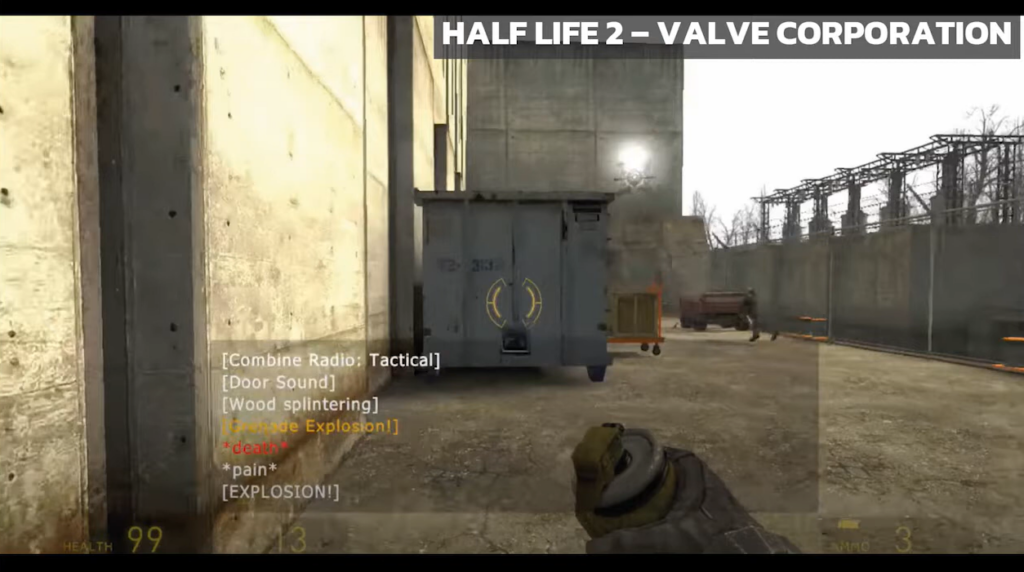
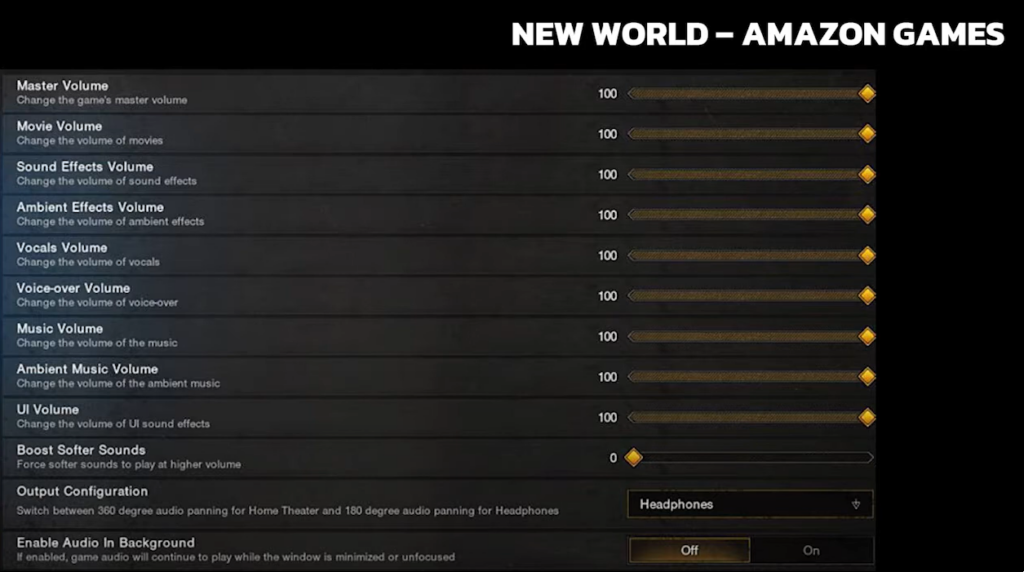
- Possibility for players to change the different types of sounds (like music or ambient sound) and their volume.
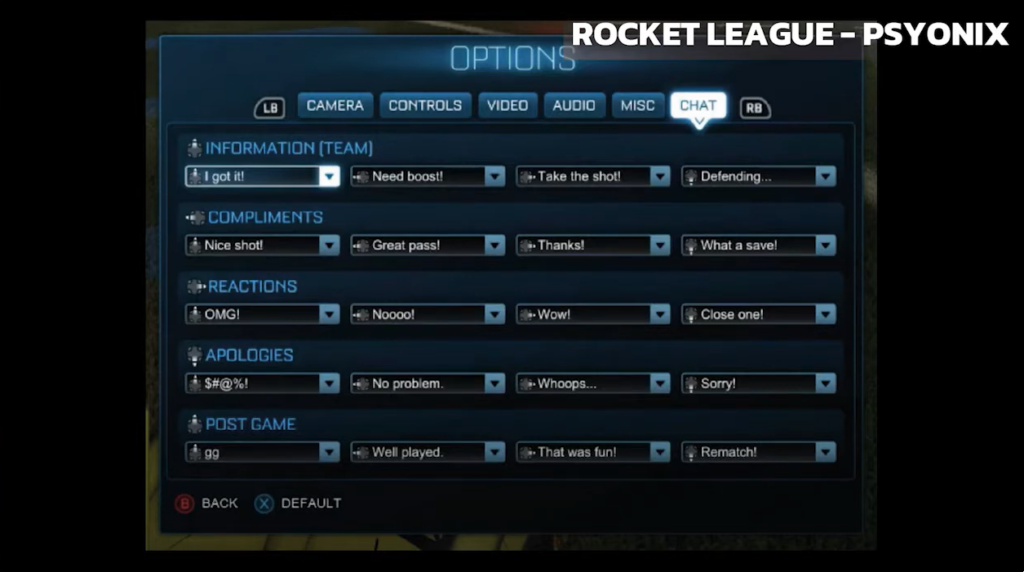
- In competitive games, if someone is not able to communicate via voice or is not able to listen, you can provide the option to quickly communicate with other players via in-game quick chats, without the use of a microphone at all.
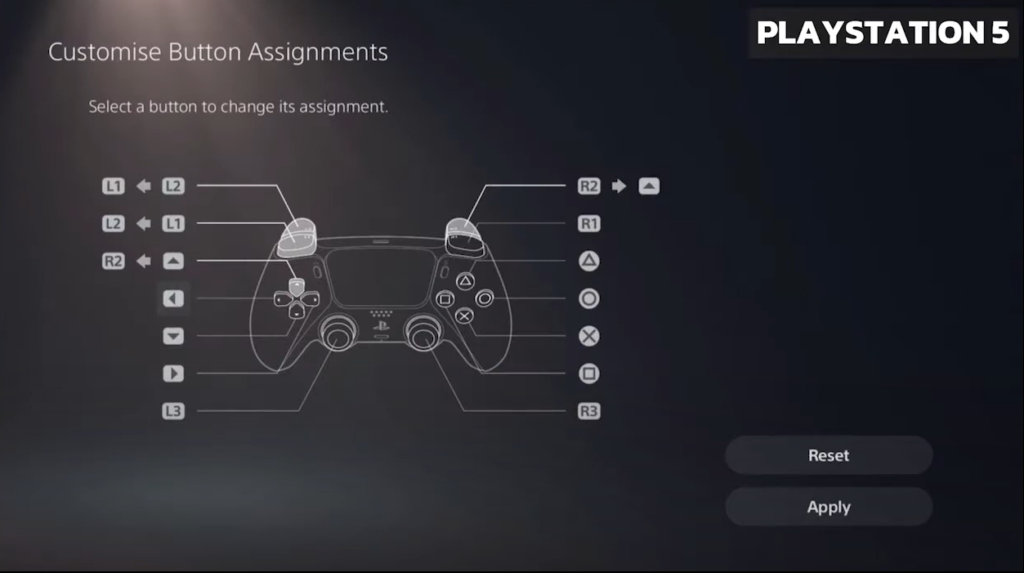
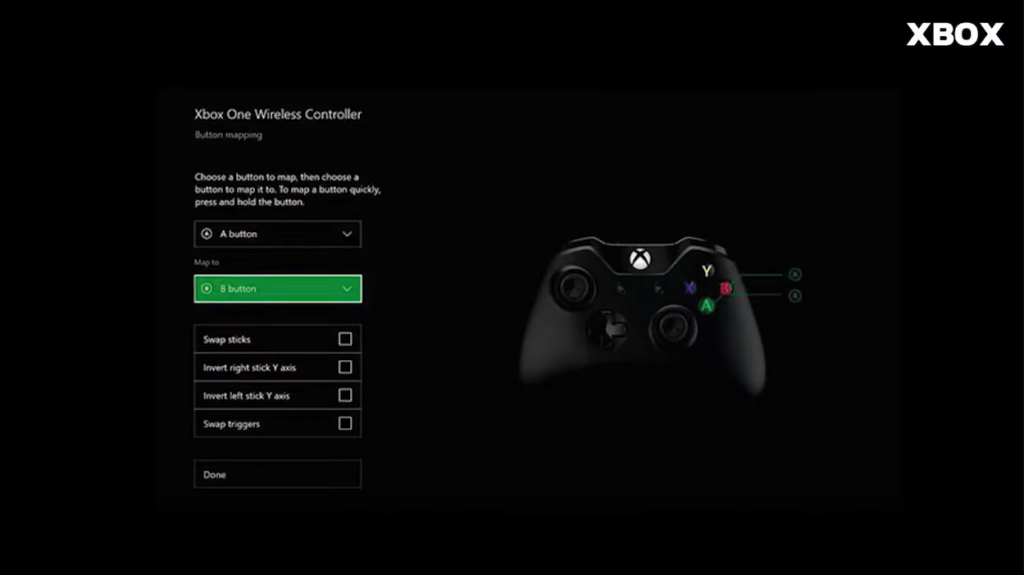
- Input remapping – this is very important as both current generation consoles have the possibility to globally remap the controls, but it’s the last resort. You should have that possibility implemented in your game, since not every player is able to play on the keyboard or on the controller in the same way.
- Another thing that you could add as an option is something that, for example, is an assist mode. If the game is too hard for someone or they are not able to physically do some things in this game, you can for example change the game speed.
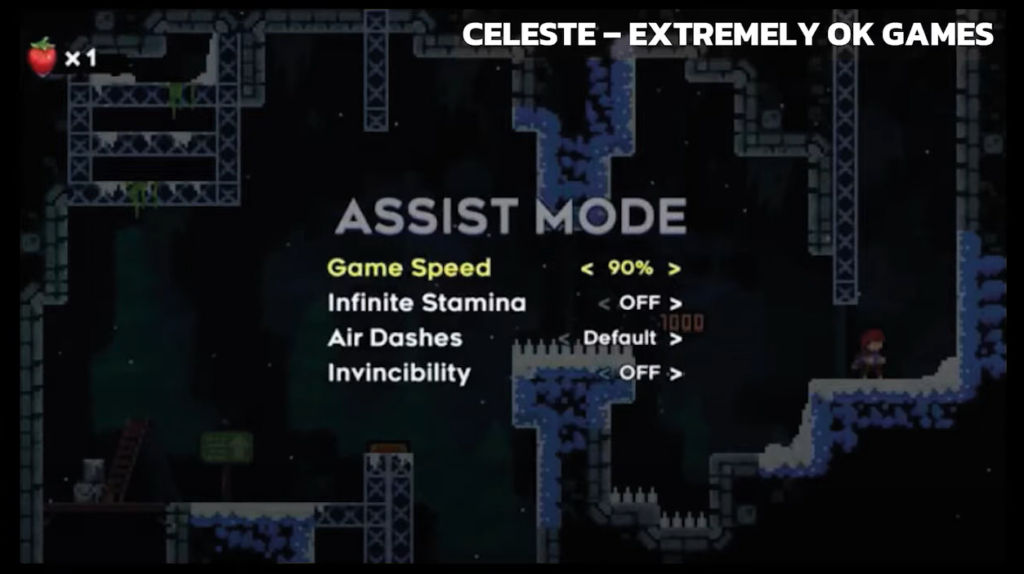
To sum up: the more options and choices your players have, the better.
Step 3: Playtest your game
By playing our game, we will not only find bugs and other problems, but also barriers. This is the most important topic with regards to accessibility: if you don’t find barriers, your players will.
Types of barriers and how you can test them:
- Visual: you can check the visuals in your game by post processing in real time. For color blindness, there are even some websites where you can just put a screenshot of your game and see how it will look for people with different kinds of color-blindness. If you really have a hard time finding the right colors and you must use two – use blue and orange, it’s visible almost everywhere and they are easy to distinguish.
- Audio: you can just mute the sound and play your game. If you are missing something, if you don’t have enough information, you know that something is not right.
- Motoric
- Cognitive
It’s much harder to test motoric disabilities or cognitive disabilities, as there are no easy tests and it’s hard to predict what kind of problems the players will have. That’s why we should come back to giving the options: the more options the game has, the easier it will be for players to adjust the game to their needs. Of course, it depends heavily on your game, so you’ll need to think about your game specifically.
Step 4: Ask and listen
Even if you ensure all the above steps, you might still miss something. Asking for feedback and listening to people talking about the game are the easiest ways to learn what you can change.
For example, Bethesda added the ability to change the colors in Deathloop only after the release. It’s never too late to make your game better – Quake, also released by Bethesda, was updated 26 years after the release; just a while ago they added accessibility features.
Best examples of accessible games
The Last of Us 2 by Sony Interactive Entertainment – it has this high contrast mode, where only important stuff on the screen has color and you can change the color of everything. They also have some additional options like auto-walk to the next checkpoint, auto-aim and so on. This game is possible for a blind player to finish alone, without the help of others.
Forza Horizon 5 by Xbox Game Studios – they had a lot of accessibility options from the start, but they’re still adding more, like sign language.
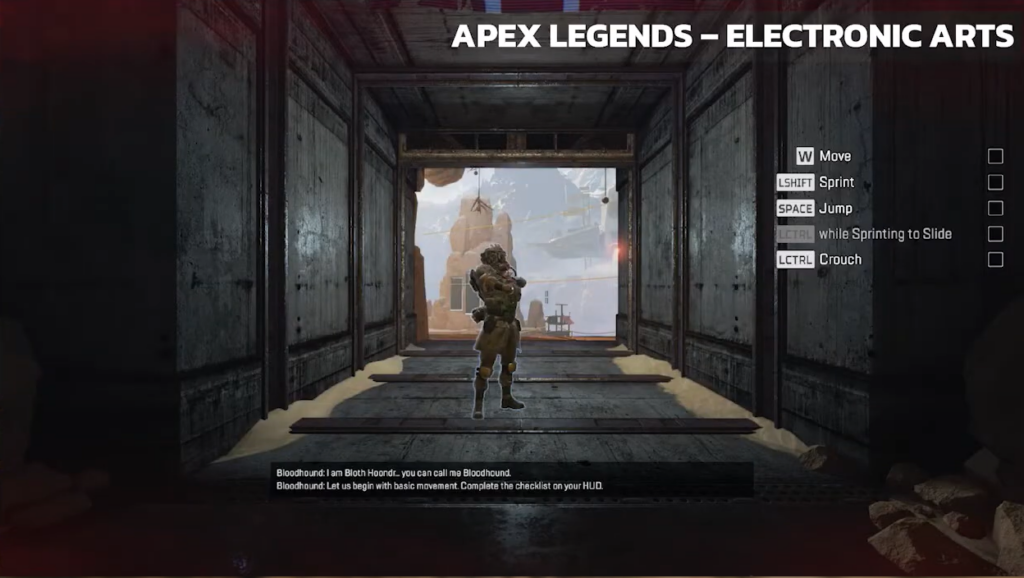
Apex Legends by Electronic Arts – you can ping almost everything on the map, mark anything for other players (like for example the enemy).
Spider-man: Miles Morales by Sony Interactive Entertainment – has high contrast mode and a lot of accessibility features.
Curb-cut effect
When some cities started to make curbs-cut for wheelchairs, people in those cities quickly realized that everybody was using them – not only people in wheelchairs, but also people with bicycles, strollers etc.
This is exactly what happens with almost every accessibility feature that you add to your game – the feature will probably be used by many people, not only those with disabilities. I’m using a lot of these on a daily basis; for example, I almost always play with subtitles. Ubisoft did some research on this. When they checked the number of players that turned on subtitles, it was about 50%, but if they released a game with subtitles turned on by default, over 90% of players left them on.
This is something that you need to remember: the more options you give to your players, the better.
WATCH VIDEO:
